
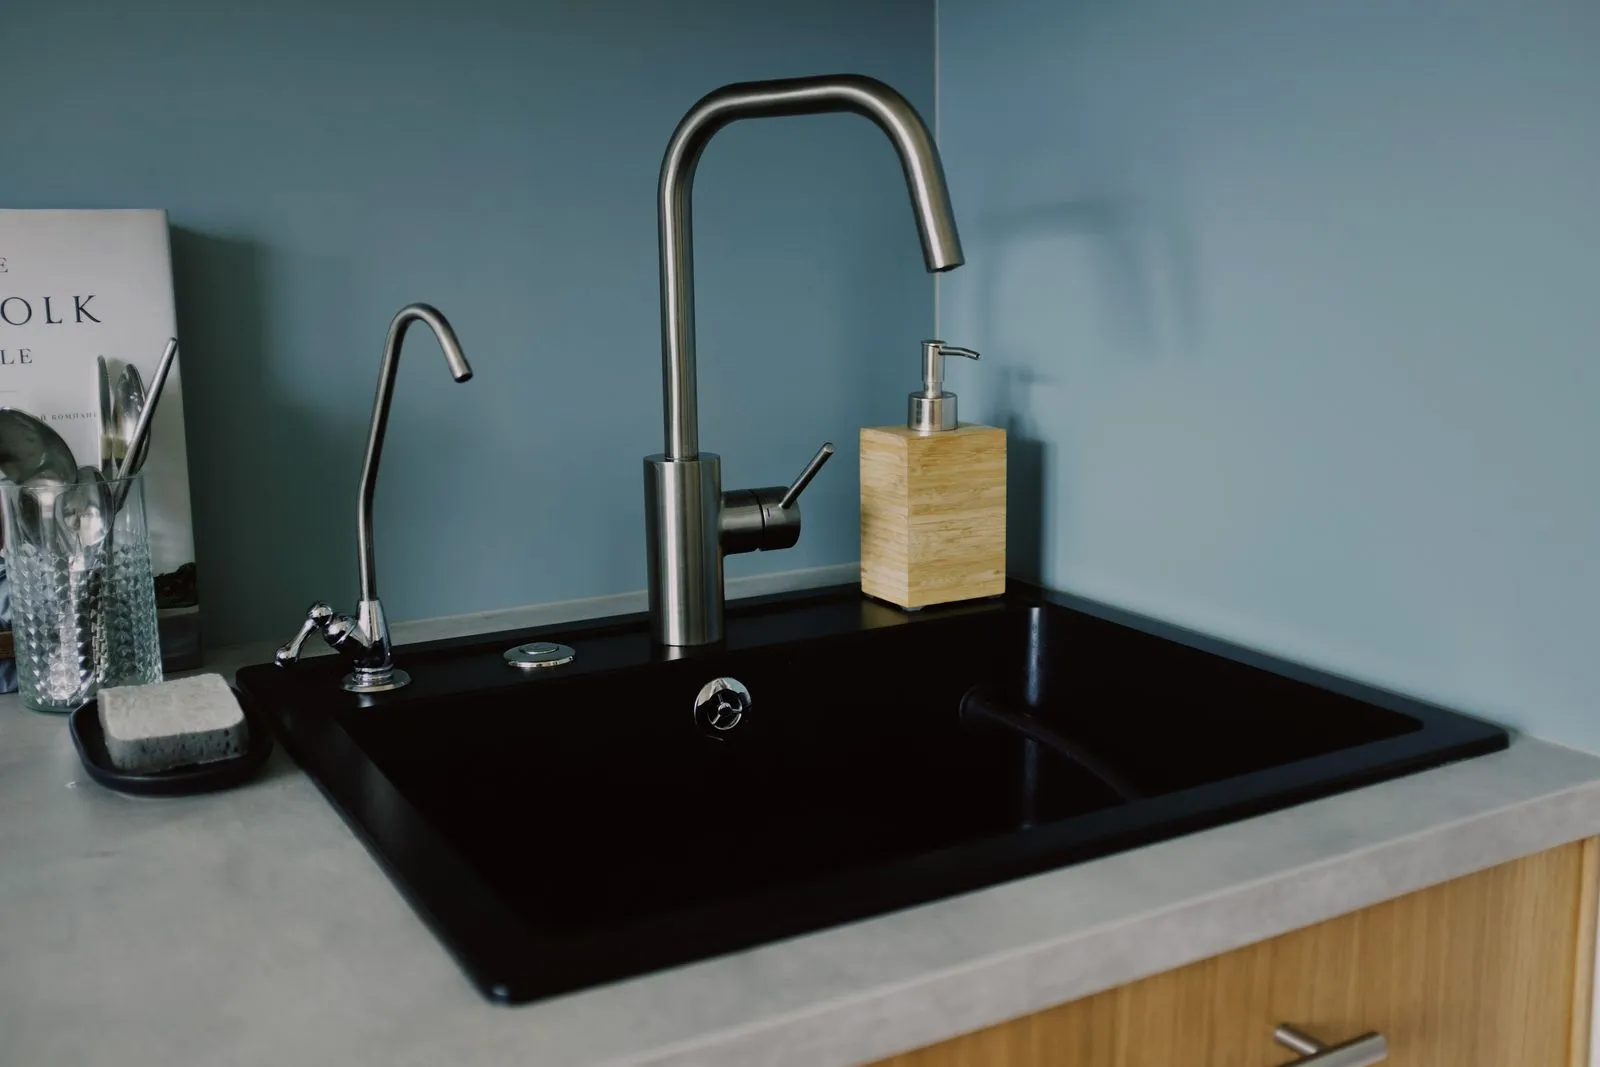
A dripping tap can sound like a tiny problem with a surprisingly persistent soundtrack. Often, replacing a worn washer, cartridge, or seal is enough to stop it. But corrosion, damage, or repeated leaks can make replacing the tap the more practical choice. The first step is noticing where and when the water appears. A few clear details—and a photo or short video—can help a handyman work out what to check and what parts may be needed.
What commonly causes a drip
In many traditional taps, a worn washer no longer seals the water flow when you turn the handle off. Modern mixer taps may use a cartridge or ceramic disc instead, and wear or debris can stop those parts from sealing properly. A loose or damaged seal can also cause water to escape around the handle or base rather than from the spout.
The drip’s location can offer a useful clue. Water from the spout after the tap is fully off often points to an internal sealing part. Dampness around a handle, tap base, or pipe connection may suggest a different seal or fitting needs attention. Avoid overtightening the handle; extra force can damage parts without fixing the leak.
Repair or replace?
A repair is often worth considering when the tap is in good condition and the fault appears limited to a replaceable washer, cartridge, or seal. If the tap is loose, badly corroded, cracked, or leaking from several places, replacing it may be more sensible. The tap’s age and availability of compatible parts can also affect the decision.
Think about how the tap works as well as how it looks. A handle that has become difficult to turn, a spout that wobbles, or a leak that returns after previous repairs may point to broader wear. A handyman can inspect the tap and connections, explain the likely options, and check whether the existing sink fittings will suit a replacement.
Details that help assess the job
When you get in touch, describe whether the tap is a separate hot-and-cold pair or a single mixer, and whether it has one handle or two. Share the room and fixture type, such as a kitchen sink, bathroom basin, or bath. A clear photo of the whole tap and a close-up of the leak can help identify its style and show access around the fittings.
Explain where the water appears, whether it leaks only when running or continues after shutoff, and when you first noticed it. Mention any recent work, previous repairs, stiff handles, or visible corrosion. If you know the tap’s brand or model, include it, but don’t remove parts just to find out. These details help the handyman prepare to inspect the likely cause.
What to do while you wait
Keep the area dry and place a cloth or container under the drip if needed. If water is escaping from beneath the sink or the leak is worsening, use the local isolation valve if you can identify it and operate it safely. If you cannot stop the flow, turn off the relevant water supply if accessible, then arrange help.
Don’t force a stuck valve or dismantle a tap while it is connected to the water supply. A small drip may not need urgent action, but water reaching cabinets, flooring, or electrical fittings needs prompt attention. Note any change in the leak so you can give an accurate update when booking.
A leaky tap may need only a new sealing part, while visible damage or recurring faults can make replacement the better option. Note where the water appears, how the tap is configured, and whether it keeps dripping when off. London Fix & Finish can help assess the next step; share a photo and a few details when you get in touch.